Some time back I was looking at the photo of Texas John Slaughter. In the photo he is carrying a Colt, worn in a cross draw style. He is also carrying a Winchester 1887 Lever Action Shotgun and has a shotshell belt with some brass shells around his waste. He holds a cigar in his left hand.
At first glance one might think that the shotshell belt he is wearing is a Mills pattern canvas belt. In fact, I have seen it listed as such in a book on historical holsters and belts. After a more careful look at the holster I realized that he was actually wearing a Pooler & Jones patent Boss Cartridge Holder and Belt. That style of belt is basically a leather belt with brass shotshell holders that hold the brass and paper shotshells of the era. These belts are often found with straps going up from the belt that go over the shoulders to help support the weight of the shotshells.


After doing some research of the belts and scouring the internet I was able to find an original belt. The belt I found was in pretty rough shape. The leather was completely dry rotted and ripped in some places. The part of the belt that goes into the buckle to latch the belt was torn and missing partly. The brass shotshell holders were very dirty and many of them were bent out of shape and would not hold the shotshells at all. I decided to take a chace on the old belt with the hopes of being able to restore it and use it in conjunction with my Winchester 1887 shotgun.
Here is what the belt looked like when I got it.
Once I got the belt documented the condition with photos and lots of notes. I took measurements of every part of the belt so I could make the belt as close as possible to the original specs with the exception of I was planning to make the belt just a tad longer.
I wanted everything to be as close to the original as possible. From the spacing of the holes for the buckle, to the lines on the edge of the belts. I wanted the brass cartridge holders to have the same spacing as the original. I wanted the buckle billet to be the same size. Everything, to the best of my ability is the same.
After documenting all of the features of the belt it was time to disassemble the belt. This required me to carefully drill out the 140 year old eyelets/rivets that was holding the brass cartridge holdes to the belt.
Sometimes the leather would rip and come apart before the rivet was dissassembled causing the leather to come off with the brass cartridge holder.
Being very careful not to drill through and ruin the brass cartridge holders I was finally able to get them all removed.
They were pretty bent up and many were crushed and would not hold a shell. I took a pair of flat pliers that had a smooth gripping surface to bend some of the areas back into shape. Other areas were done with my hands. Sometimes the reshaping of the cartridge holders required me to open them up and put a wooden dowell into them and use that to give it a round shape. Other times I was able to use a brass shotshell to help get the shape.


After they were all reshaped they needed to be cleaned up. To clean them up they went through several tumble cycles. In between the tumble cycles I would take them out and do a hand cleaning with a brass cleaner. After the last tumble cycle they were all taken out and my wife and I did a two step process where she would take a paste brass cleaner and a toothbrush and scrub them. Once she was done scrubbing them I took a rag and rubbed the excess cleaner off of the brass and gave them a final wipe down. These steps were very messy and were not photographed due to how messy our hands were (sorry).
Here are some photos of about the best we could get them. Remember, no telling how many years these brass carriers have sat uncleaned. I am sure they had years of black powder use and who knows what else.

During the cleaning and tumbling process I was working on the belt. Using my previous photos, measurements and notes I sat out to make the belt as close to the original as possible. It should be noted that I did make some slight changes to the belt. First, as mentioned above, I wanted to make the belt a little longer and give it more adjustability. The second change I made was to make the belt using a heavier weight leather. I wanted a thicker leather so that the belt would be more durable.
I cut the belt to the proper width, carefully laid out my rivet holes, buckle billit hole and lines that run along the edges of the belt and billits. Then I made the holes, cut the billits and made the lines along the edges of the leather.
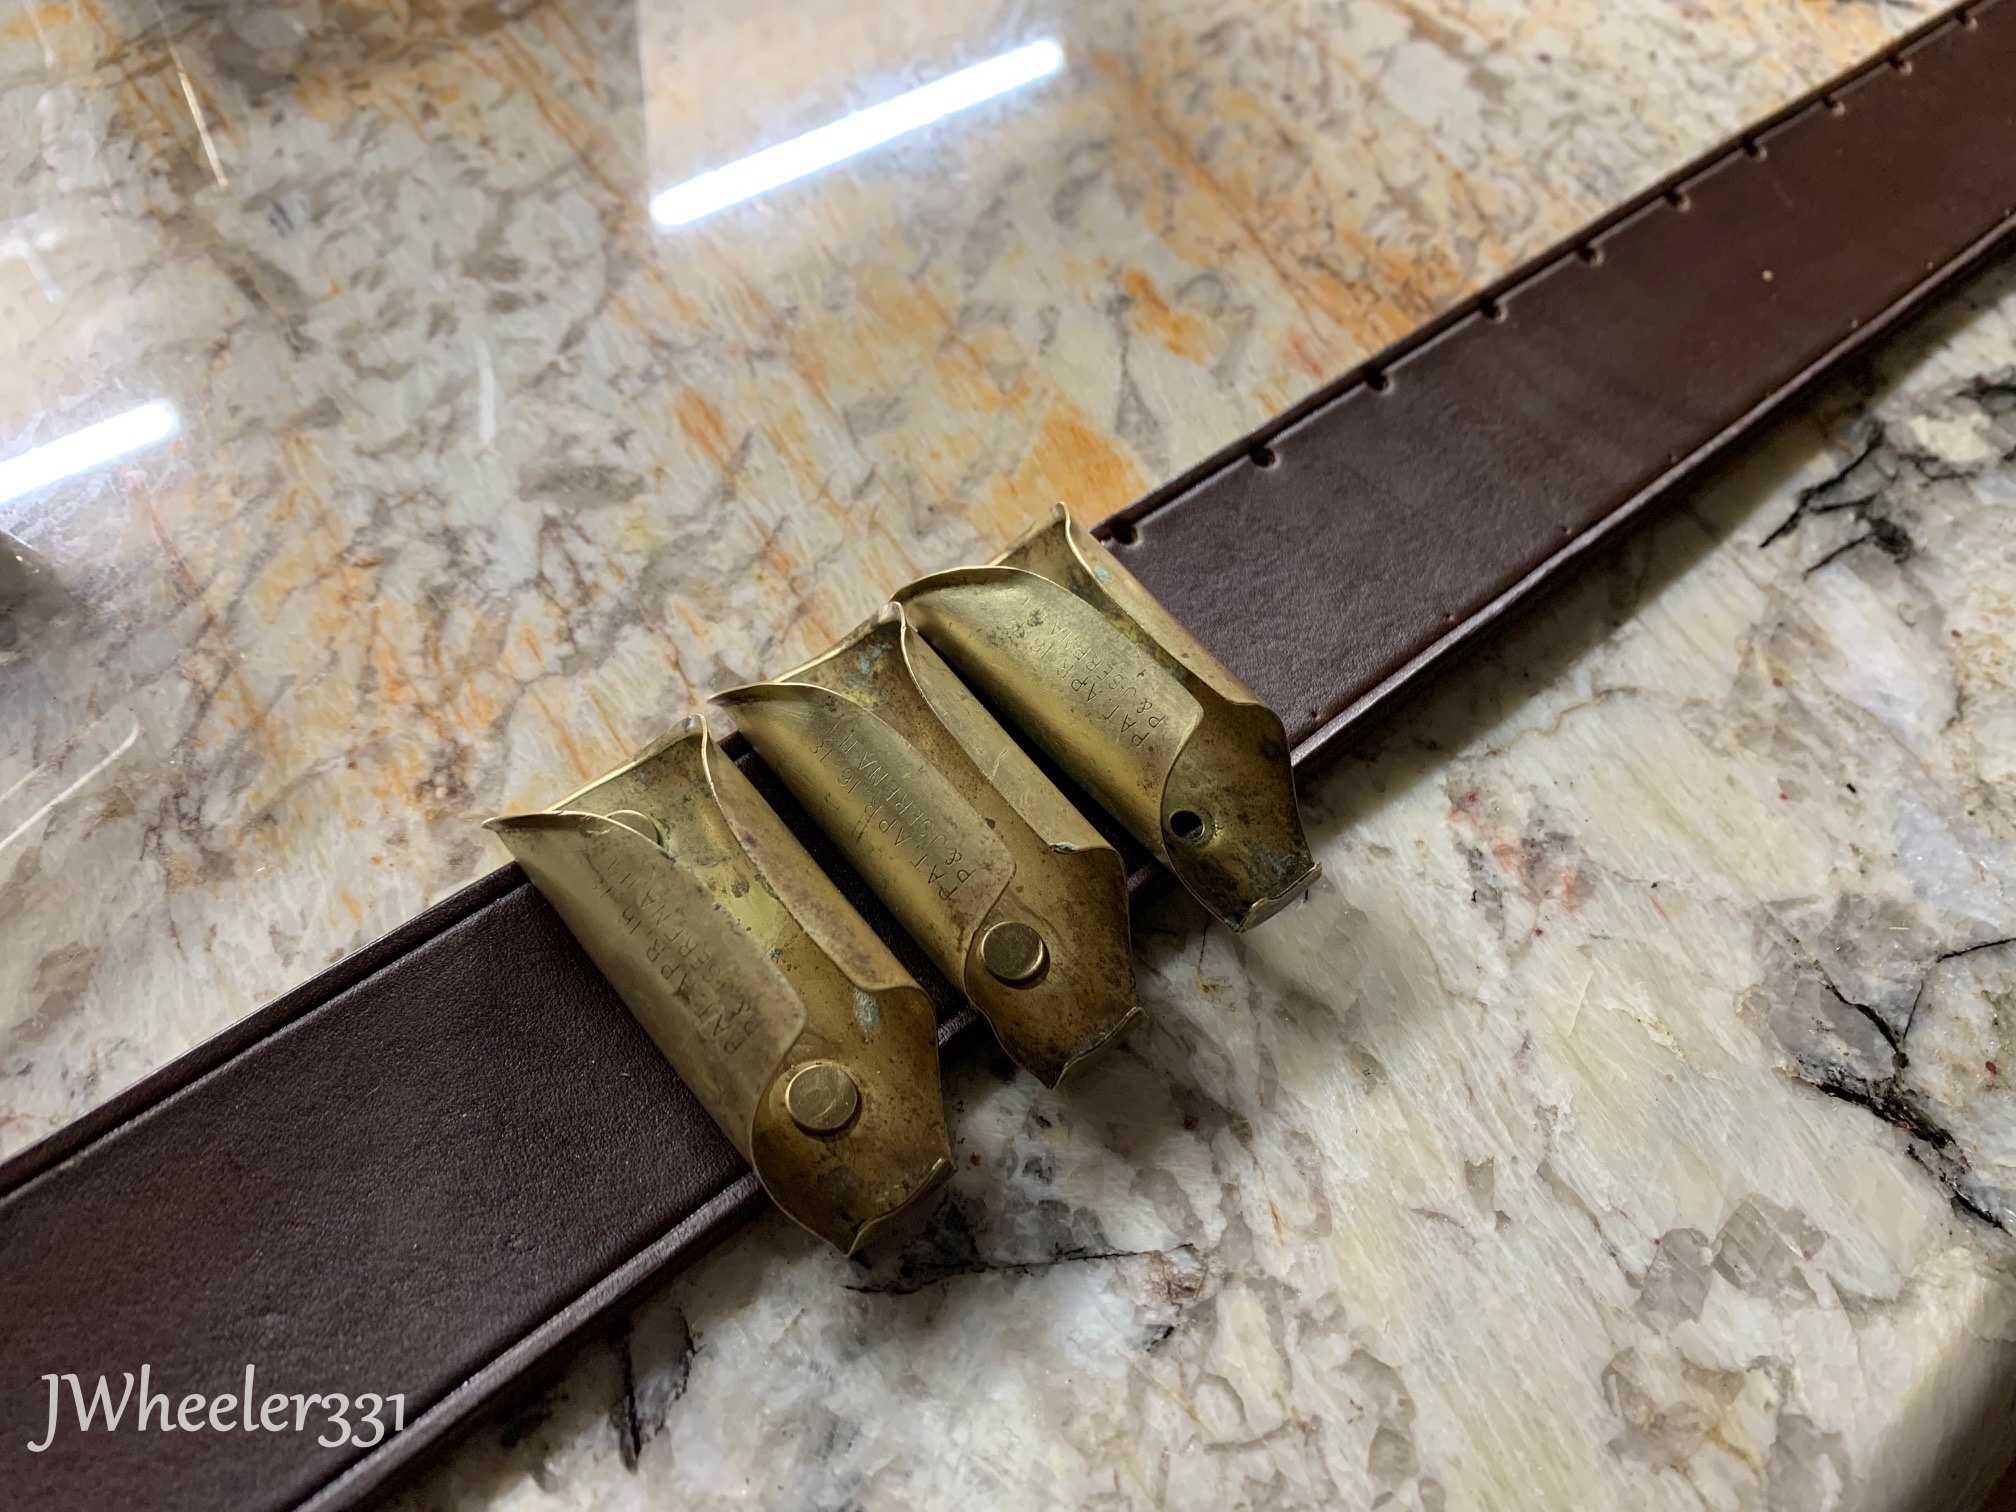
Now it was time to dye the leather and lay out the holes that would be used to hold the brass cartridge carriers on the leather. I also attached the billits to the belt. The original belt used capped rivets to hold the billits on. At this time I am using Chicago screws because I wanted to make sure it all worked and fitted. I also used the original buckle and wanted to be able to replace that buckle at a later time should I decide to do so. The color I decided on is a walnut dye from Fiebings.


I searched high and low to try to find eyelets that were the correct size. I was not able to find the correct size and rather than spend a small fortune on many sizes of eyelets and eyelet setter tools in hopes that one of the sizes would work I decided to just go with some of what I had in the shop. I went with a brass double capped rivet. These hold the carriers firmly in place and I believe they will work nicely. The only problems that I have noted is one that I believe would have been a problem even with the eyelets.
The original brass shotshells of the era had a tapered end. I normally don't taper the ends of my shotshells because doing so shortens the life of the shell and they are not cheap. I want to be able to reload these shells many times so without the taper the thin rim of the shell wants to catch under the cap of the rivet. It is not that much of a problem but you do have to carefully put them in the holders to make sure they go all the way down. The rivets do not cause any problems once they are in the holders and the shells can be removed easily.
In the end I am very happy with the belt that I produced. The original brass shotshell carriers will get many more years of use and the belt will get paired with my Winchester 1887 on future hunting trips.
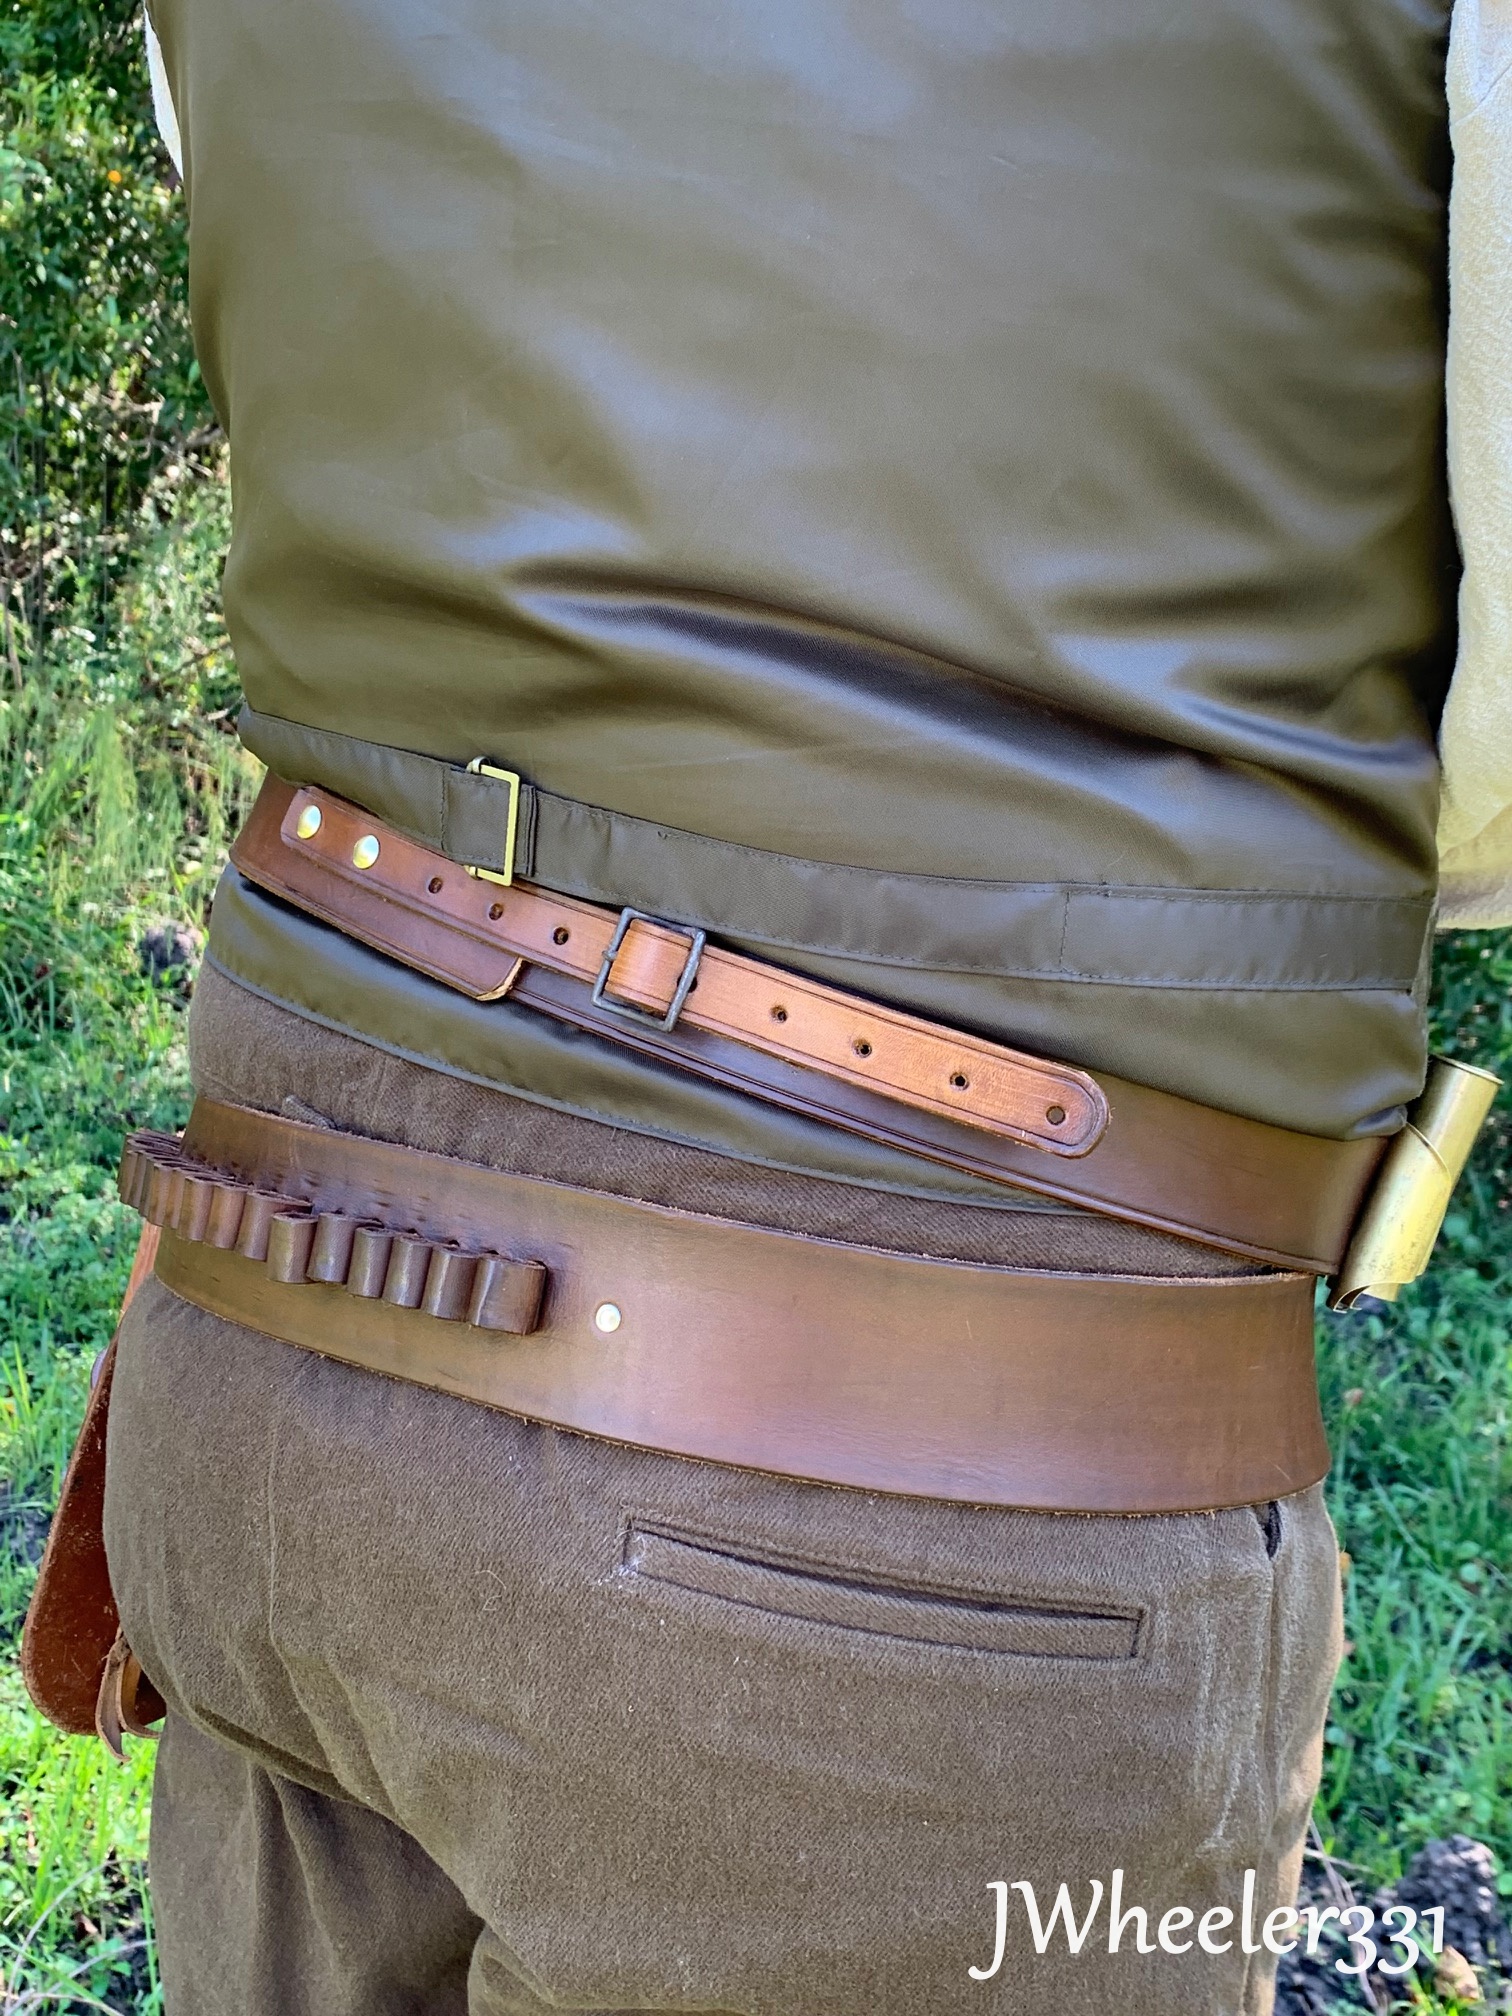
After finishing up the belt I decided to dress in some period style clothing and recreate the photo (the best I could) that started it all for me.
Here is the original photo again for comparison.
Not a bad recreation in my opinion.
Here are a few more photos of the whole rig together.
Thank you for taking the time to read this and following along with the restoration of this old shotshell belt. Please feel free to comment here and let me know what you think about the project.
I can also be found on Instagram as @Jwheeler331 and @Ponderosa_Leather